This past weekend my MIL and I decided to try our hand at dyeing playsilks. The problem is that a cursory Google search brought up so many different ways to dye; whose instructions did we choose to follow? This was a lesson in experimentation, and the object of this post is to pass on what I learned to you.
What are playsilks?
Silk scarves or veils, essentially. They’re called playsilks when given to children to use for non-scarf or veil purposes. They’re cheap to buy and fun to dye! You could, of course, use them as scarves or veils; you could also use them to wrap presents, make a cape, decorate a play-house… the possibilities are only as limited as your imagination.
Silk, as an animal fibre, requires you to use acid dyes. Fortunately this isn’t expensive; two cheap, safe dyes to use are Kool-Aid and cake dye.
The Basics
What you will need:

Silk scarves – I bought a bulk of 12 of the 35 x 35 size. This is a decently large size, although for playsilks for play-houses you’d probably wish to use a larger veil. The machine-hemmed 8mm Habotai silk came highly recommended on many sites.
Kool-Aid – I got the 48 variety pack, but next time I would buy individual packets in bulk. We had far too many reds and pinks (black cherry, strawberry, strawberry lemonade and strawberry-kiwi all produced fairly similar colours) and no yellow or blue.
Condiment bottles – fantastic for applying dye. These were purchased at Target.
Plastic wrap (Saran wrap, cling-film) – check that it’s able to be used in the microwave! My packet said it was able to be used for around 2 minutes in a standard microwave.
Rubber bands – this is if you wish to do any tie-dyeing.
Cheap, white vinegar – several sites stated that when dyeing with Kool-Aid, vinegar is not required, but enough dyeing recipes contain it that I decided to err on the side of caution.
What you should already have around the house:
Large saucepan – big enough to soak your scarves in.
Bucket – I found this easiest for grad-dyeing purposes.
Glass bowls – preferable to metal bowls when using vinegar.
Measuring cup – although in my opinion you could probably estimate the quantities and you’d be fine.
Paper towels or reusable towels – we bought a couple of packs of Terry cloth kitchen towels from Costco; they wash easily and it doesn’t matter if they get dye on them.
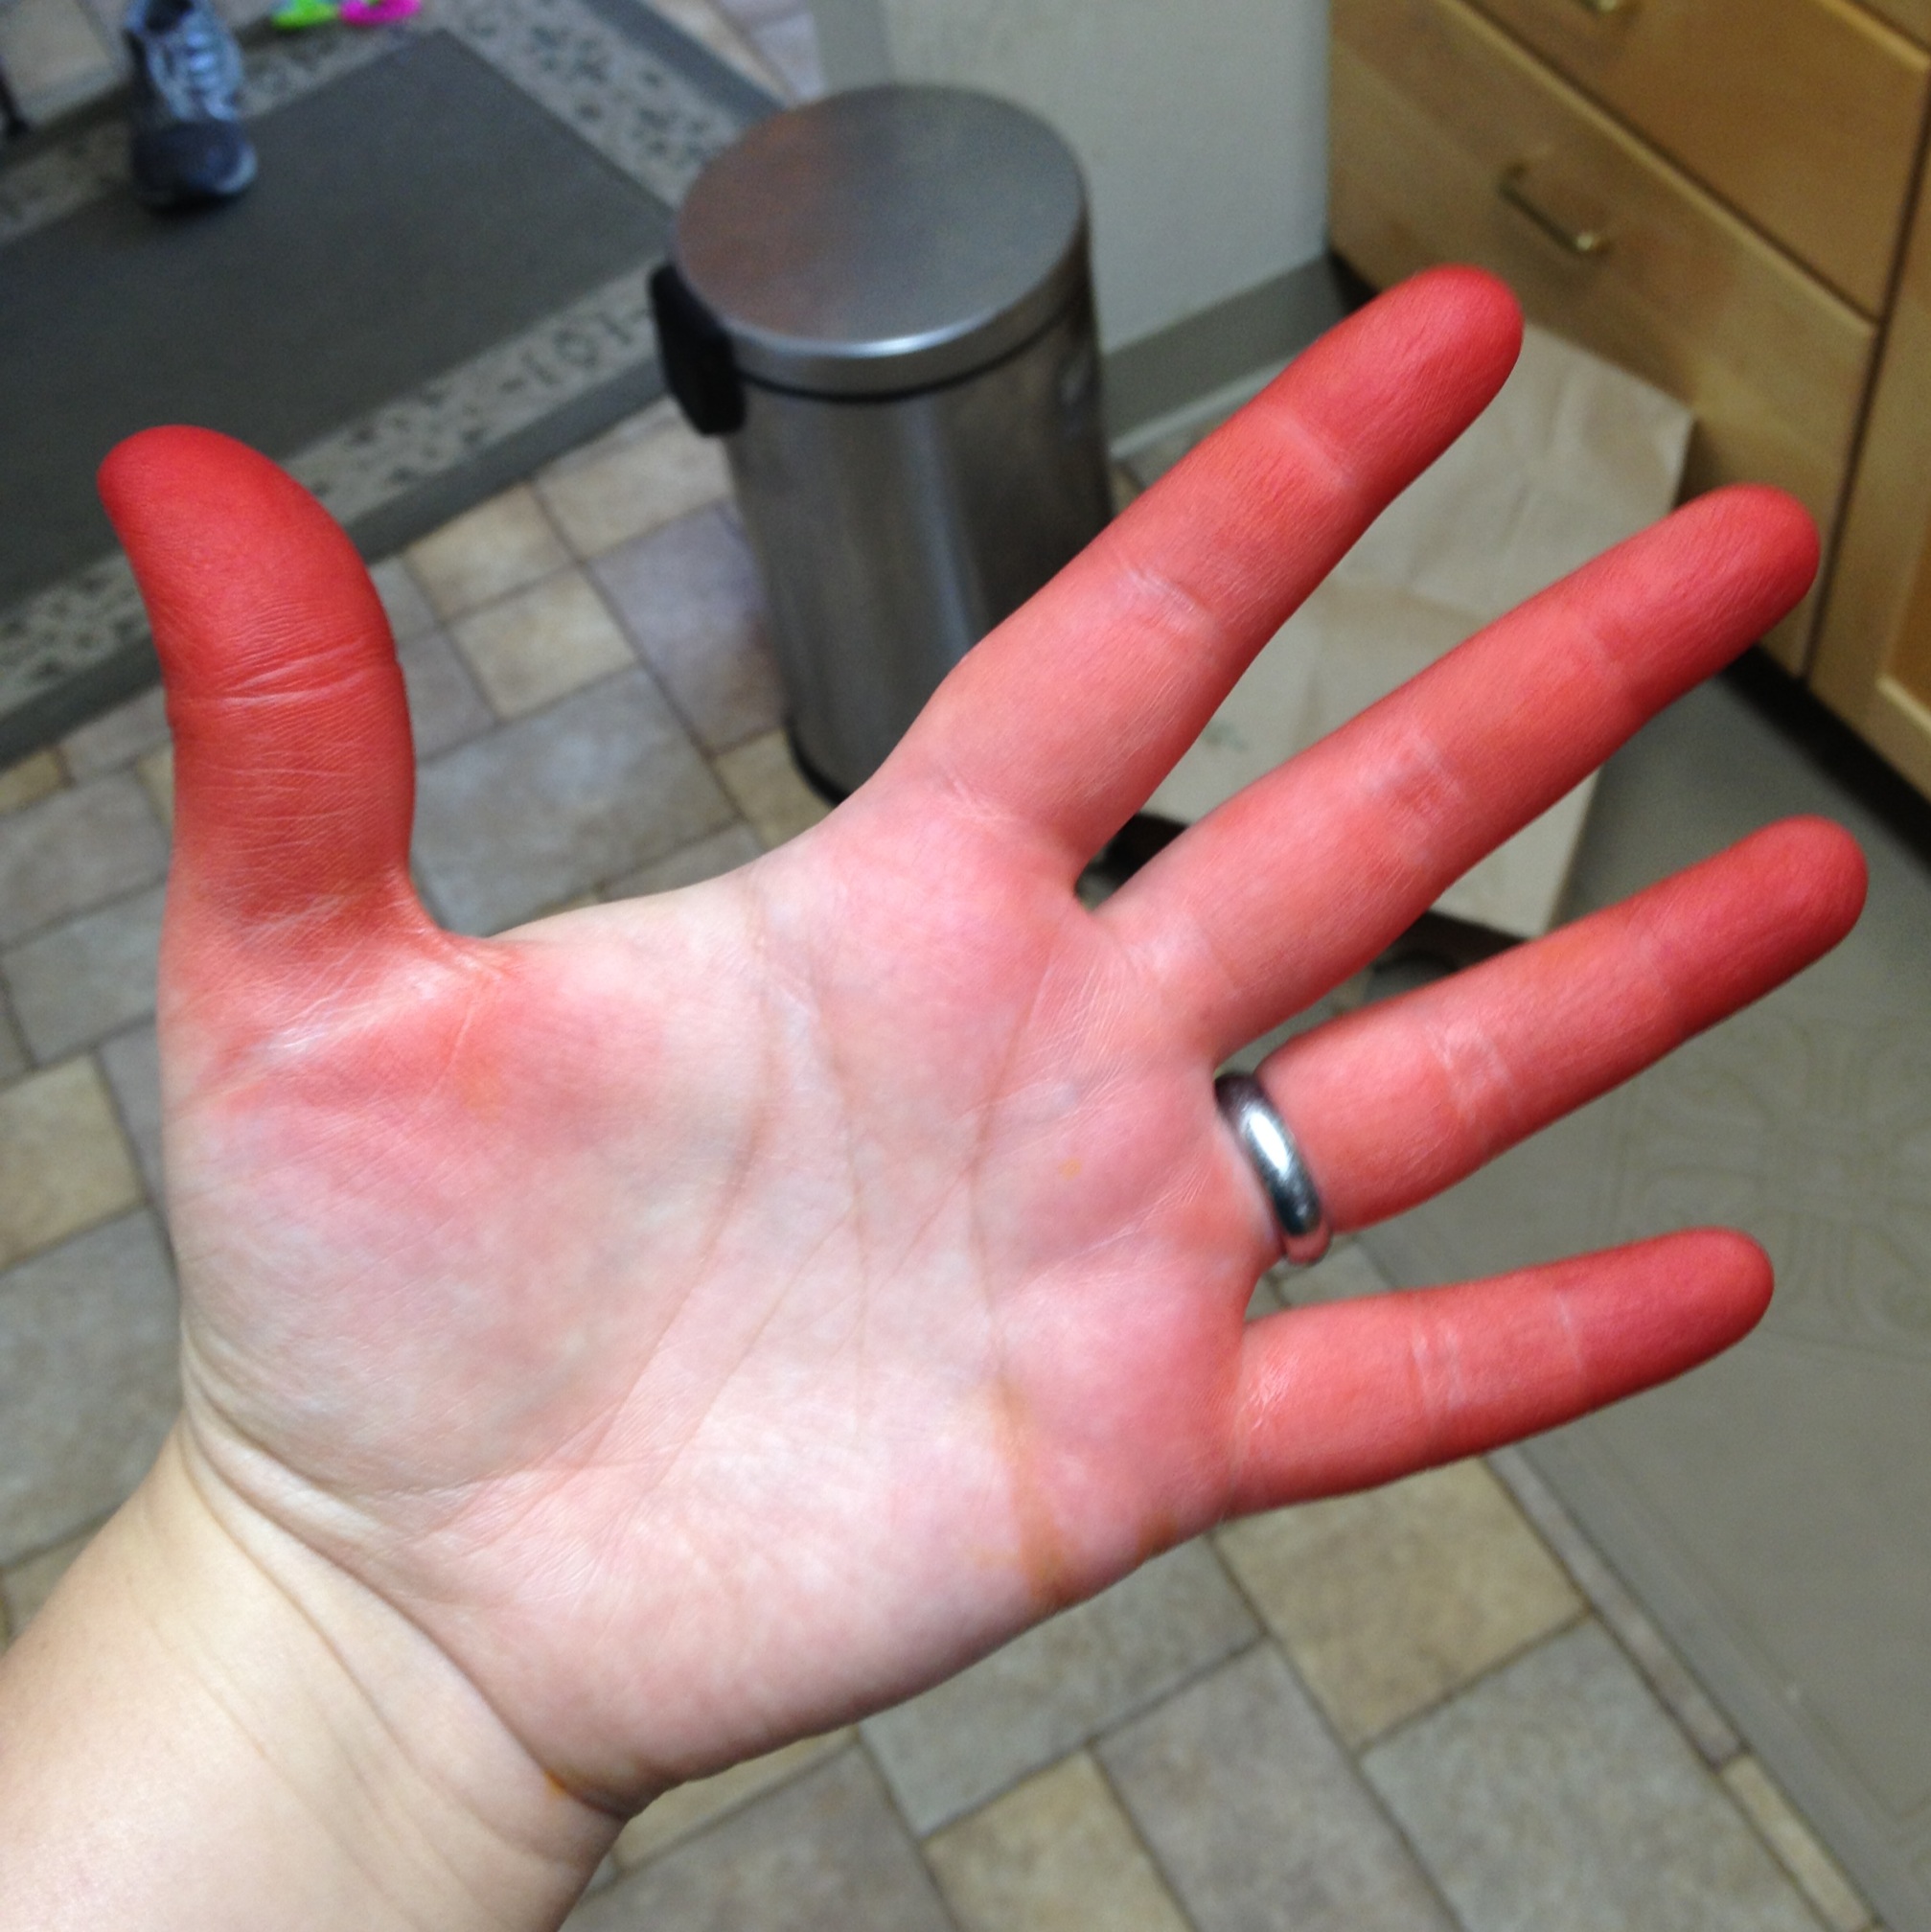
Gloves – or you can simply dye your fingers, as I did.
Microwave – this makes fixing a tie-dye or freehand dye SO easy!
Funnels – for getting the liquid into the condiment bottles without spilling any.
Instructions
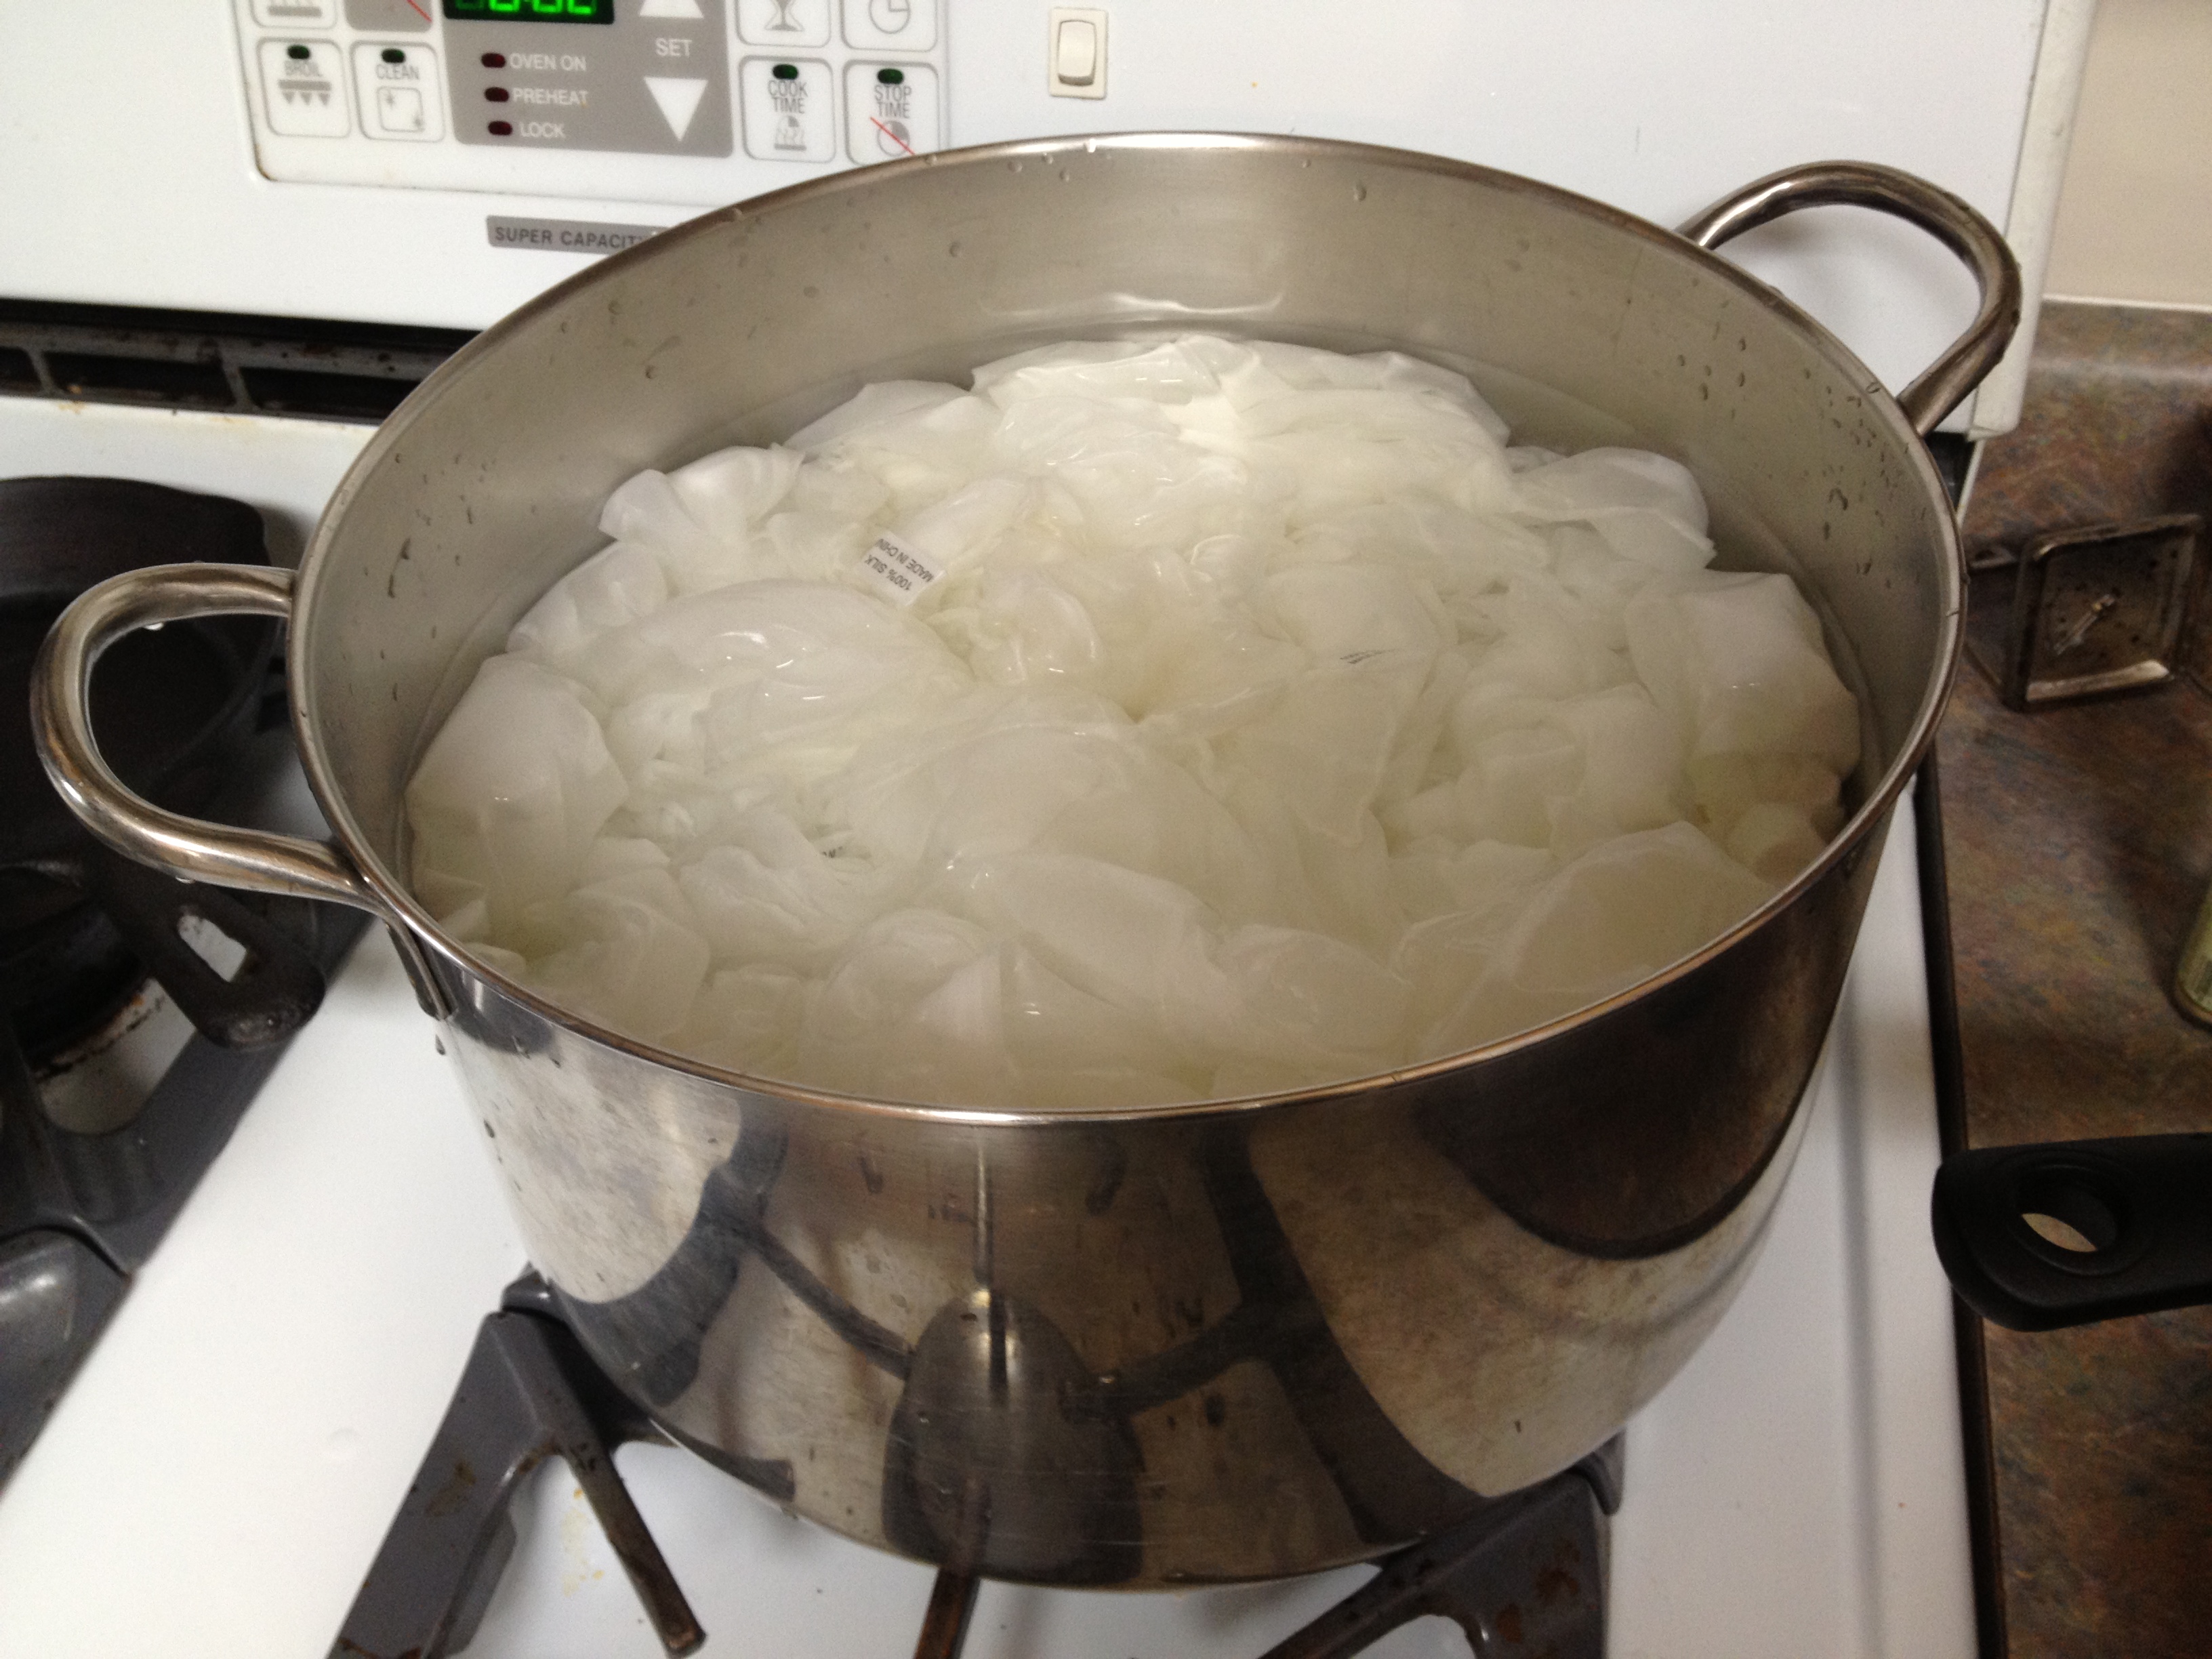
- Fill a large saucepan with hot water. Add a little vinegar – I used a cup; an exact measurement isn’t required.
- Soak your silk scarves in the saucepan – as many as you can fit. I fit all 12 in the saucepan at once. To maintain the heat of the water I placed it on a stove hob on low.
- Have your husband exclaim, ‘what the hell is that?’ as he catches a whiff of silk soaking in watery vinegar. Yum!
- Soak the silk scarves for around half an hour.
- Before dyeing, wring out a scarf to remove excess water.
Now you can dye!
There are various methods of dyeing playsilks – most of the instructions for dyeing playsilks that can be found online are for single-coloured playsilks, which is a little boring. We wanted to experiment! So without further ado, here are instructions for dyeing playsilks in a variety of ways:
Single-colour solid dye
- Fill a glass bowl (preferred, although a stainless steel or plastic bowl will suffice) with 5 cups of water, 1 cup of white vinegar.
- Add the Kool-Aid; I found 3 packs of Kool-Aid for one 35 x 35 scarf gave a deep, rich colour. Experiment with mixing colours; for example, 2 x black cherry and 1 x ice-blue lemonade produced a nice, plummy purple.
- Thoroughly soak the scarf in the dye for up to half an hour, although I found ten minutes was usually long enough. I used a chop-stick to swirl the scarf around in the water to ensure it was thoroughly soaked.
Tie-Dye or Freehand-Dye, using the microwave
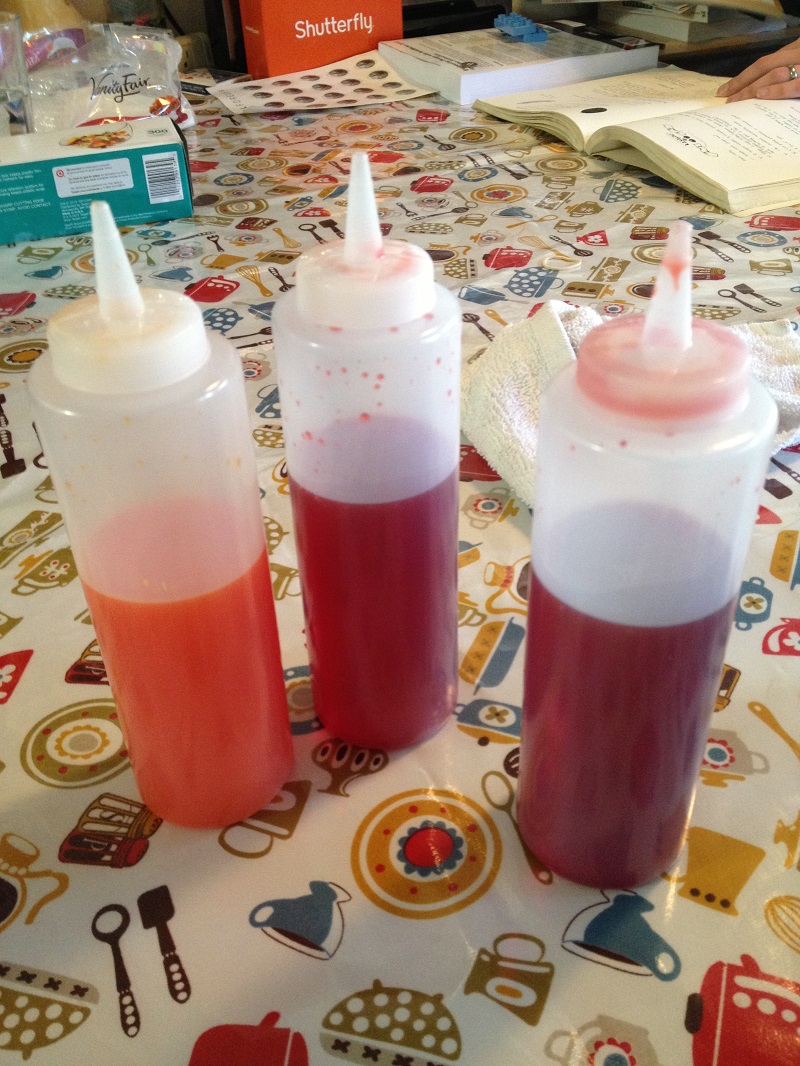
- Prepare your dye in the condiment bottles. There are so many different recipes to be found online, and to be honest we didn’t find there was a real difference in the colour produced whatever recipe we used! We found 3/4 cup water, 1/2 cup of white vinegar and 3 packets of Kool-Aid gave a nice, vivid colour in an easy-to-handle quantity.
- Lay a quantity of plastic wrap on your table, long enough to cover the full length of the scarf.
- Lay the scarf on the plastic wrap. If you’re tie-dyeing, you’ll want to tie up sections of the scarf with rubber bands. Since the plastic wrap likely isn’t wide enough to cover the full width of the scarf, fold the scarf up concertina-style.
- Apply the dye! I recommend pouring on the lighter colours first. Bear in mind that the dye is going to run a little along the creases of the fabric (I love this effect).
- Blot the dye using kitchen towels.
- Fold in the plastic-wrap and scrunch at the top to hold in place. The silk scarf and dye should be fully contained.
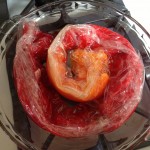
Ready for the microwave - Place in a microwave-safe dish – I used a glass pastry dish, which was perfect for the job. Heat in four 40-second intervals. Check the plastic wrap each time; if you fear it might melt, remove from the microwave.
- Unwrap the silk scarf over the sink. Be careful; the silk, dye and plastic wrap will all likely be extremely hot! Rinse the silk scarf in cold water.
- Hang to dry.

Learn from my mistakes:
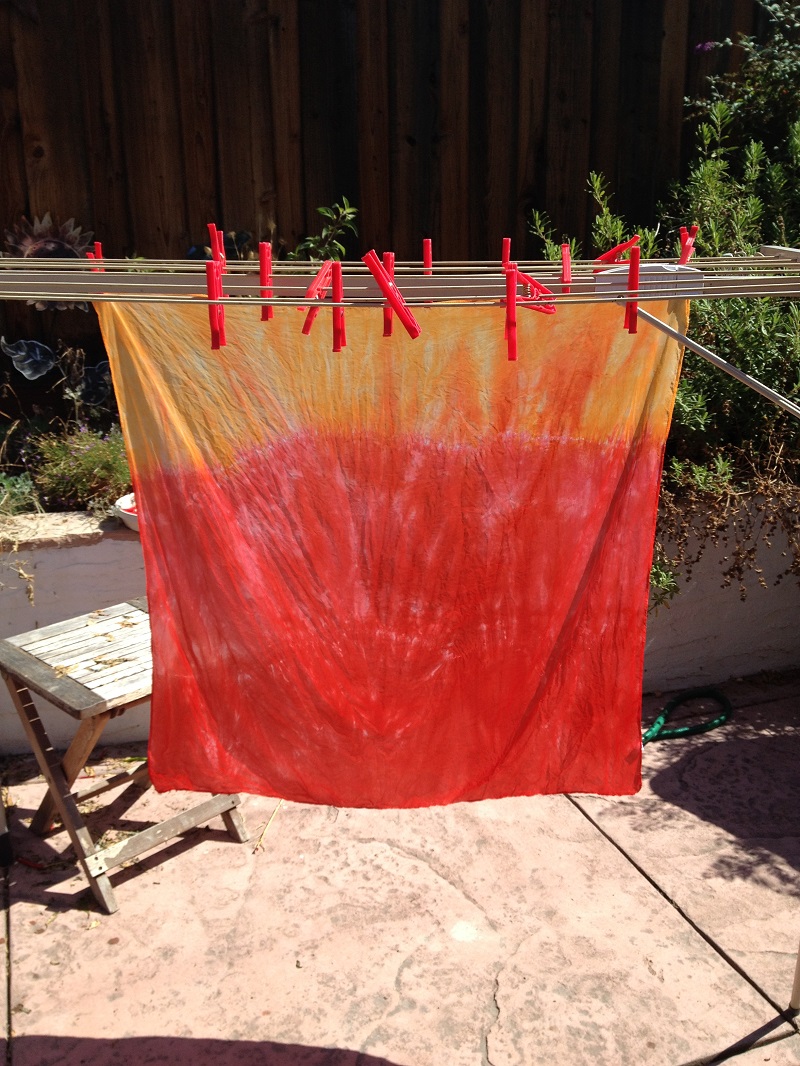
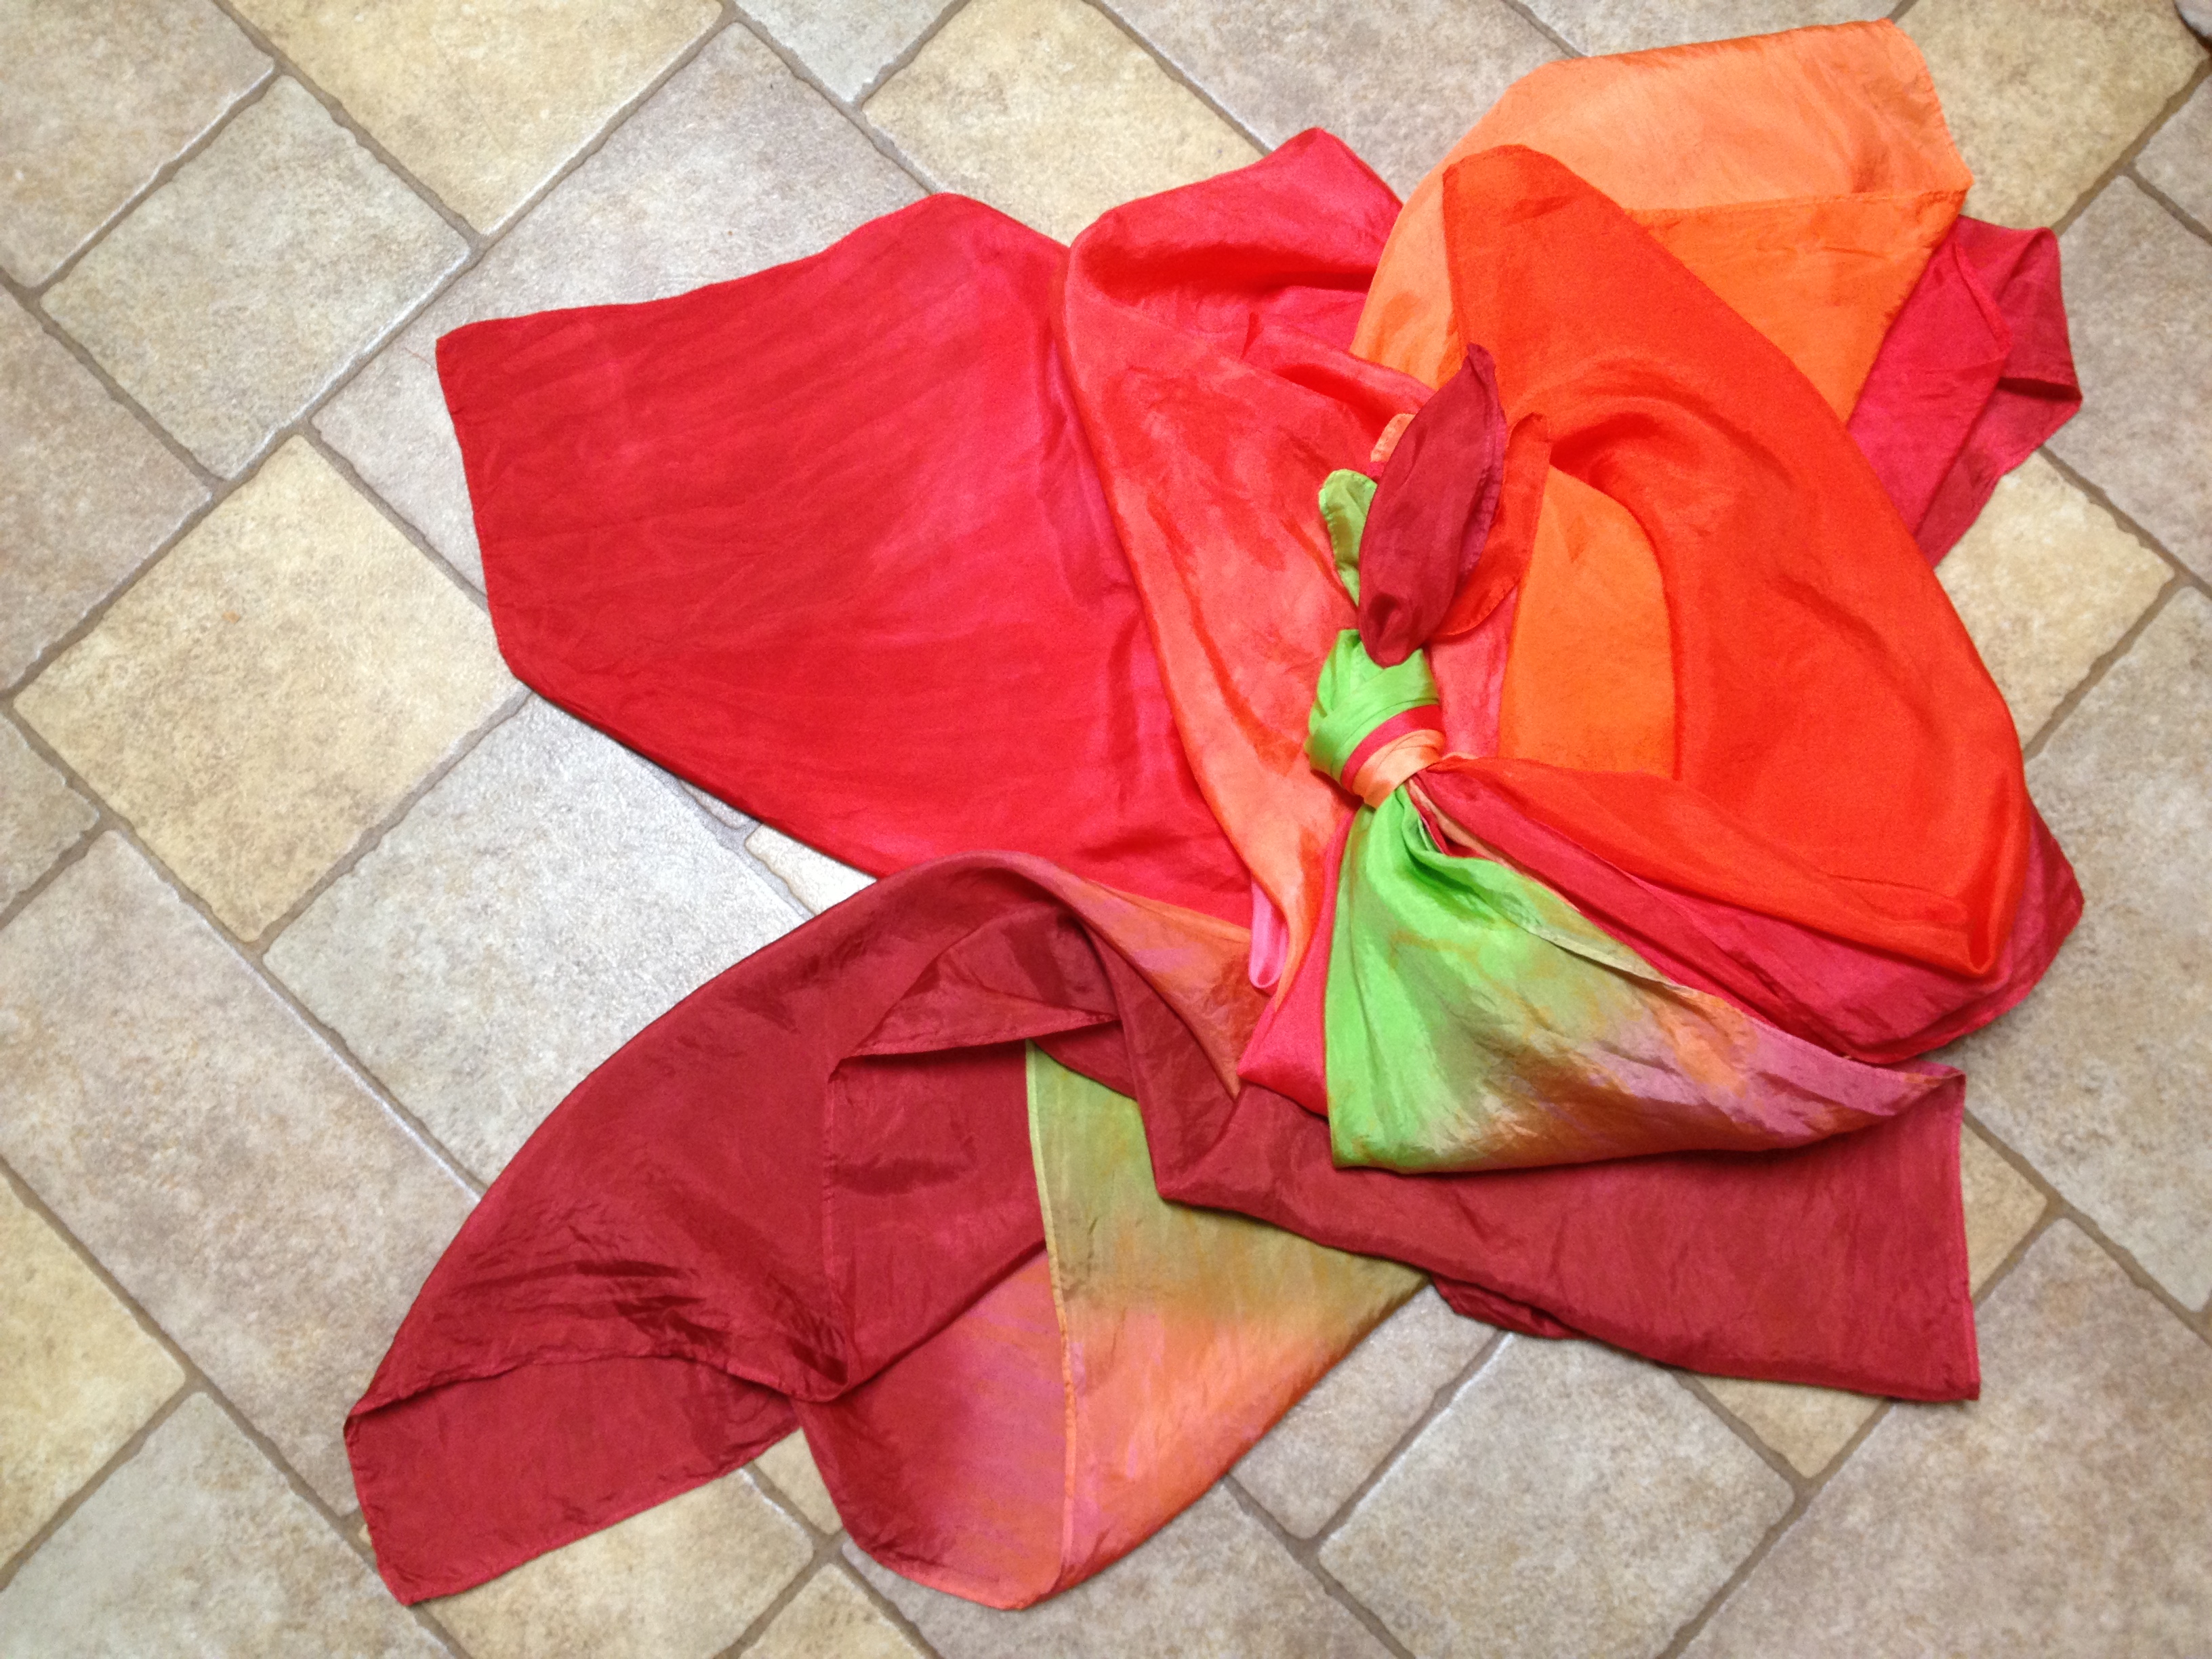
Left is my first dyed silk scarf. I had sectioned the wrap into three using rubber bands. Keep the rubber bands for creating circles or other interesting shapes; here it just creates an ugly, uneven line between the dye colours. If you wish to create a freehand gradation, forgo the rubber bands and just scrunch up the scarf.

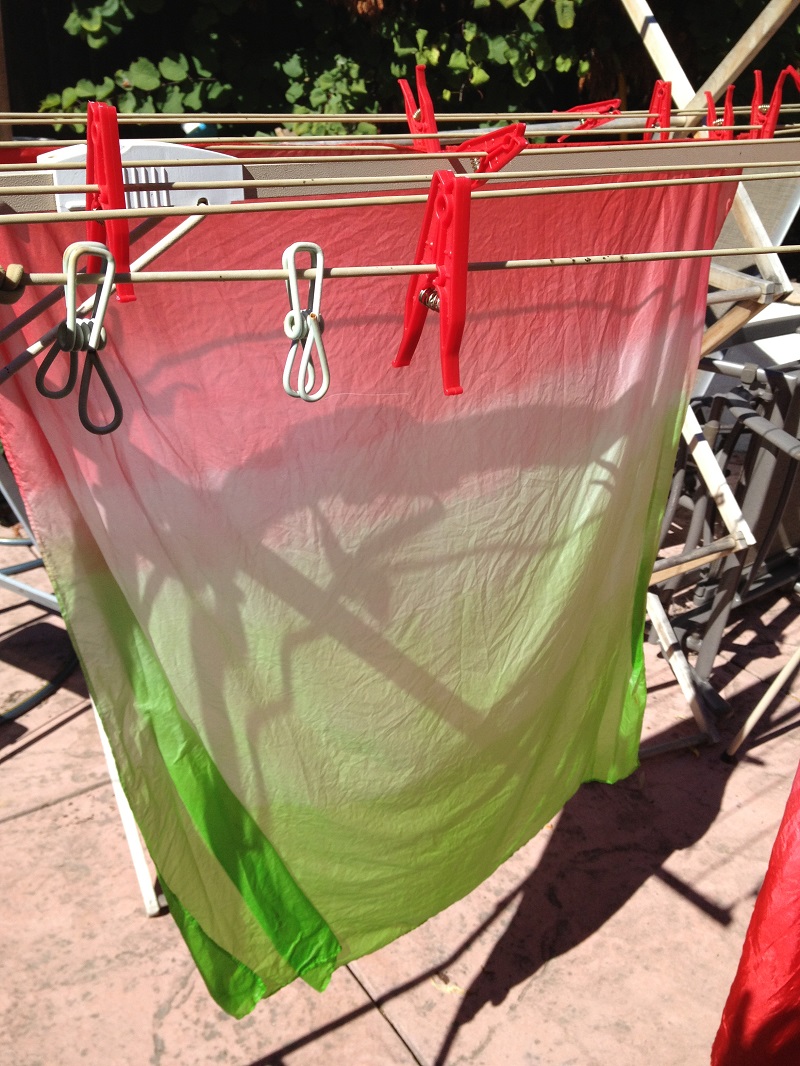
I was much happier with the gradation I produced on the right. It was almost exactly what I wanted, except that there was too much red and not enough orange. Apply the lighter colour first, and make sure your reds are not too similar! There are actually two reds used here; black cherry and strawberry. I should have added ice-blue lemonade to the black cherry to produce more of a purple. This was produced by scrunching up the scarf concertina-style, then simply squeezing the dye out onto the silk.
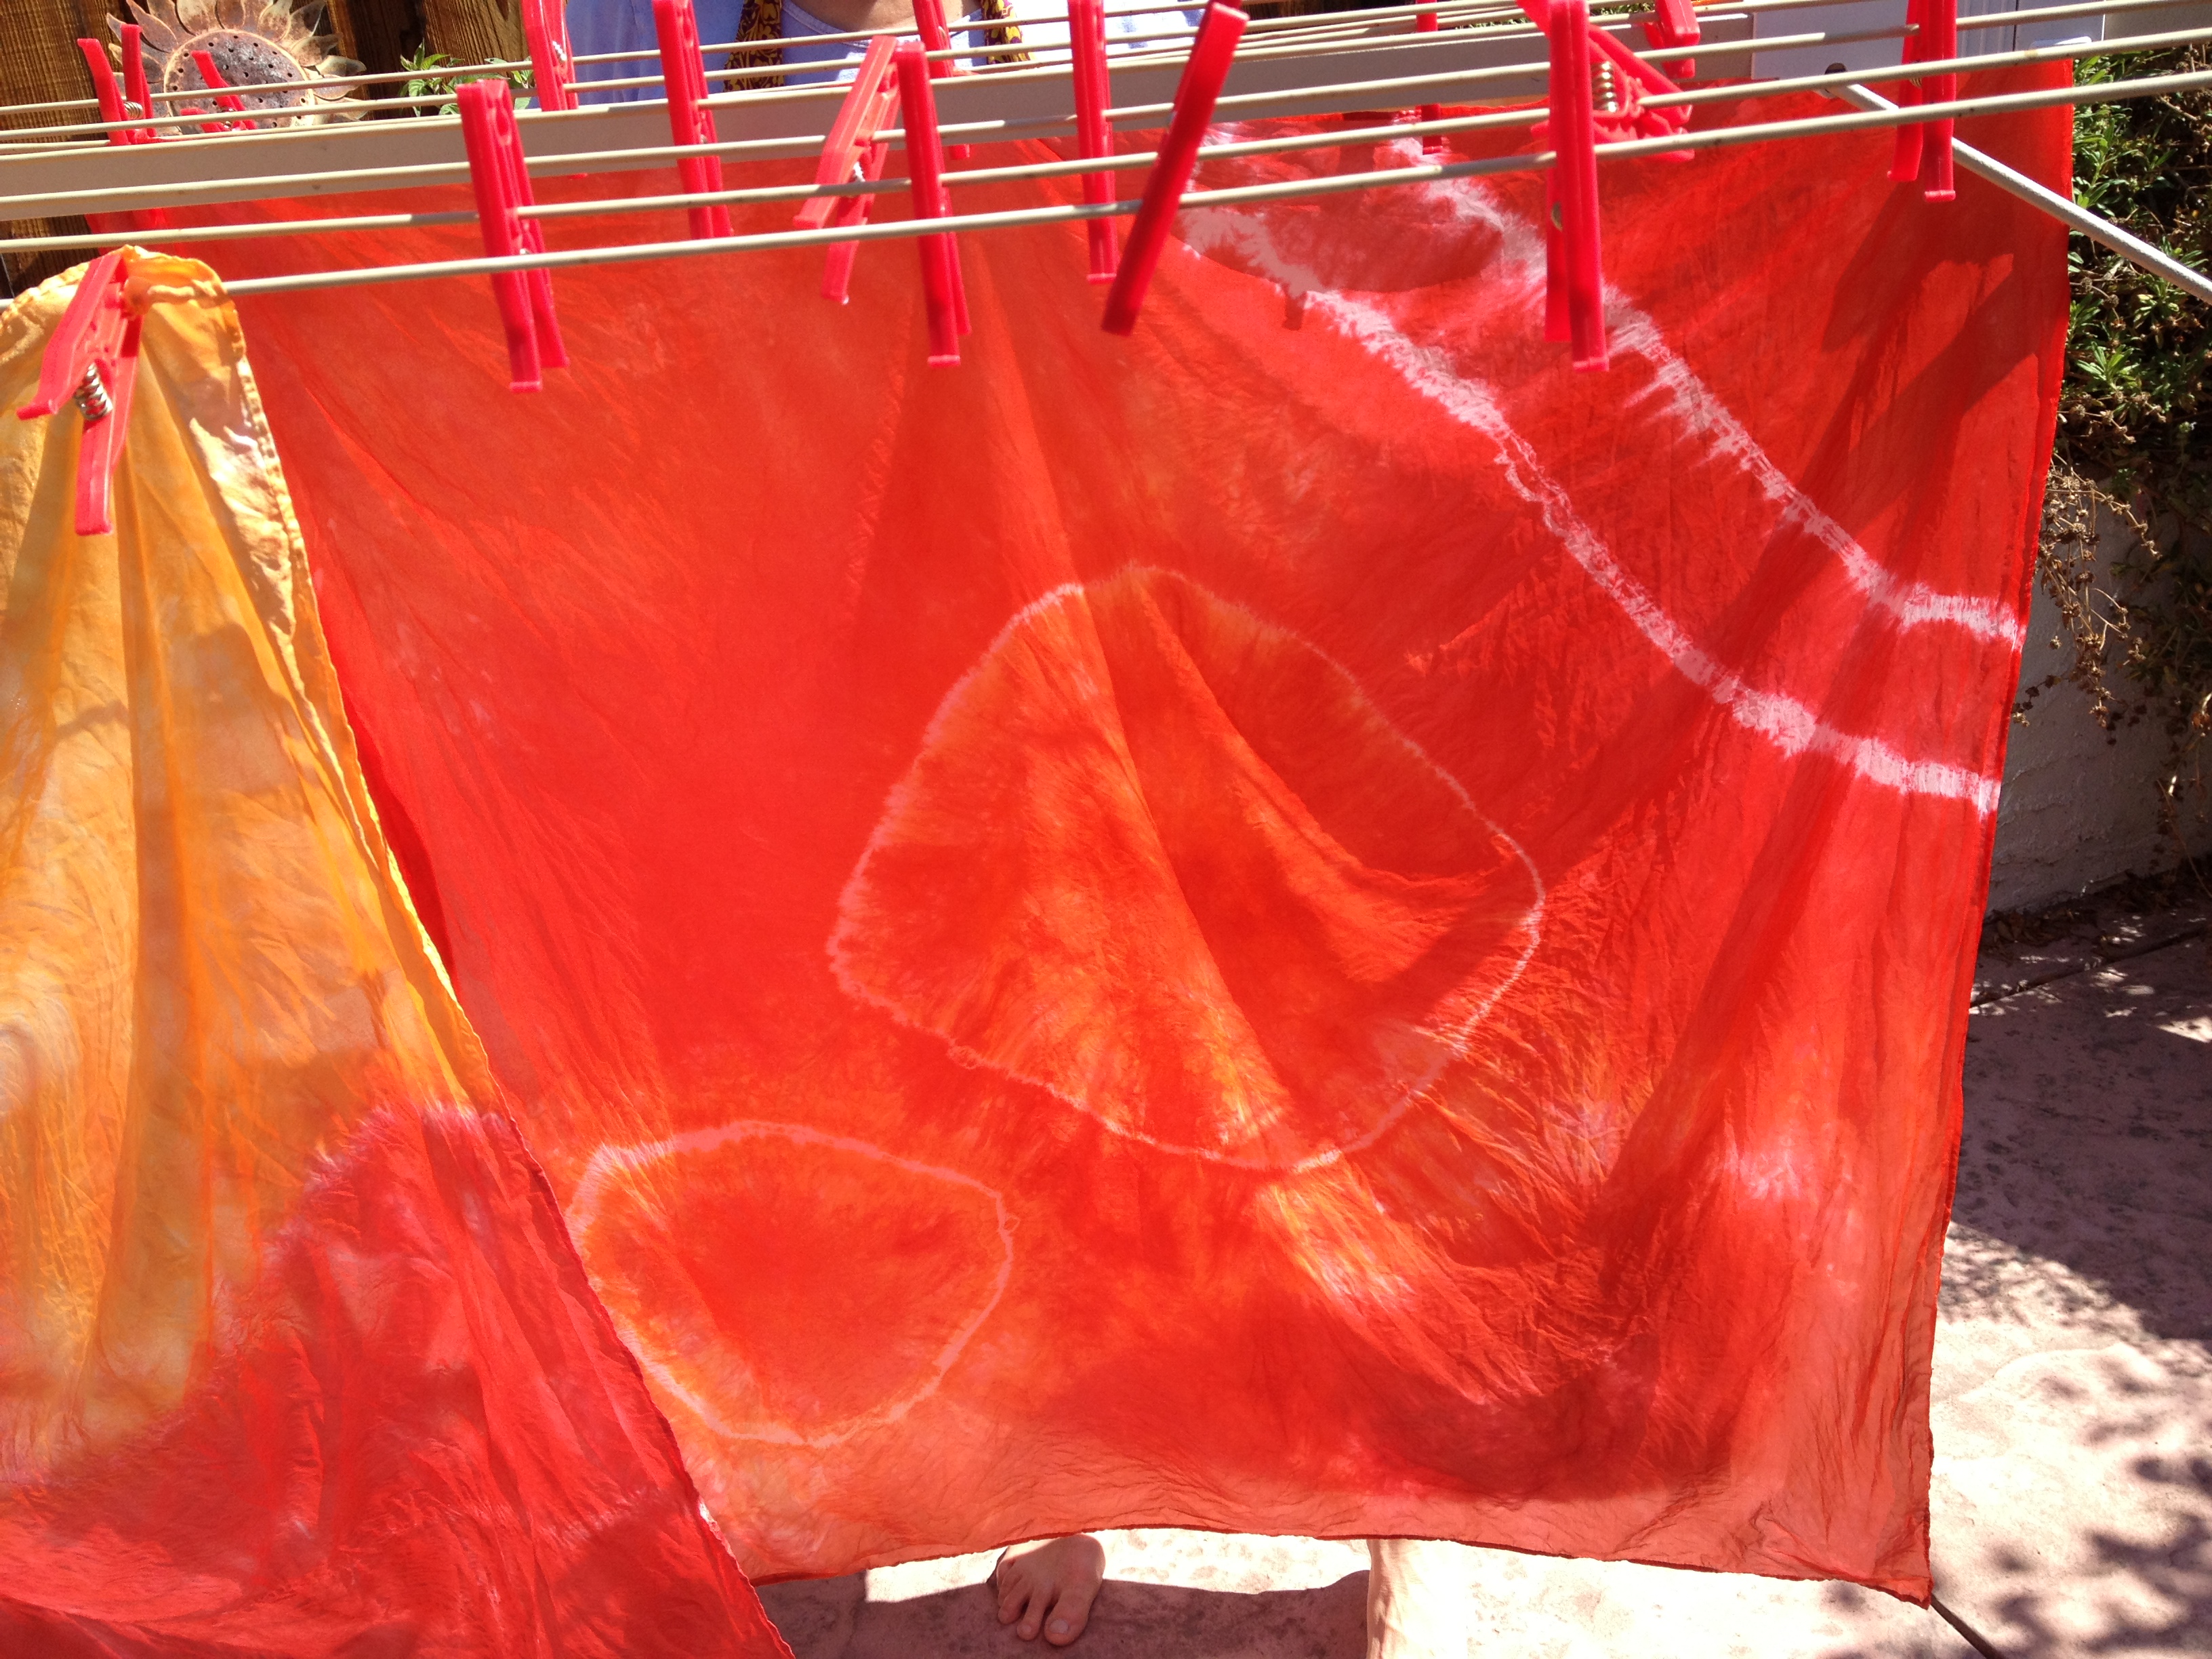
My MIL’s tie-dye produced a far more pleasing result than my attempts; she opted for circles rather than lines. Much prettier!
These dye jobs used black cherry, strawberry and orange. I definitely recommend buying additional packets of blue Kool-Aid to add variation to your dye jobs! We ended up with so many red and orange silk scarves.
This was definitely the quickest and easiest way to dye the scarves, and I highly recommend this method for older children – so fun!
Single colour gradation dye, using a bucket
- Prepare the dye as for a solid colour dye job; 5 cups of hot water, 1 cup of vinegar, and 3 packets of Kool-Aid. I found 3 packets was perfect; the silk scarf soaked up 2 packets too quickly, and with 4 packets I found I needed to dip the scarf more slowly. Place the dye in a bucket.
- Scrunch up your damp scarf concertina-style.
- Dip one end of the scarf into the water; about 2-3 inches deep.

Dry, ironed and in use - Every 30 seconds, lower the scarf a further 2-3 inches into the dye. I used a chop-stick to thoroughly swirl the dipped end.
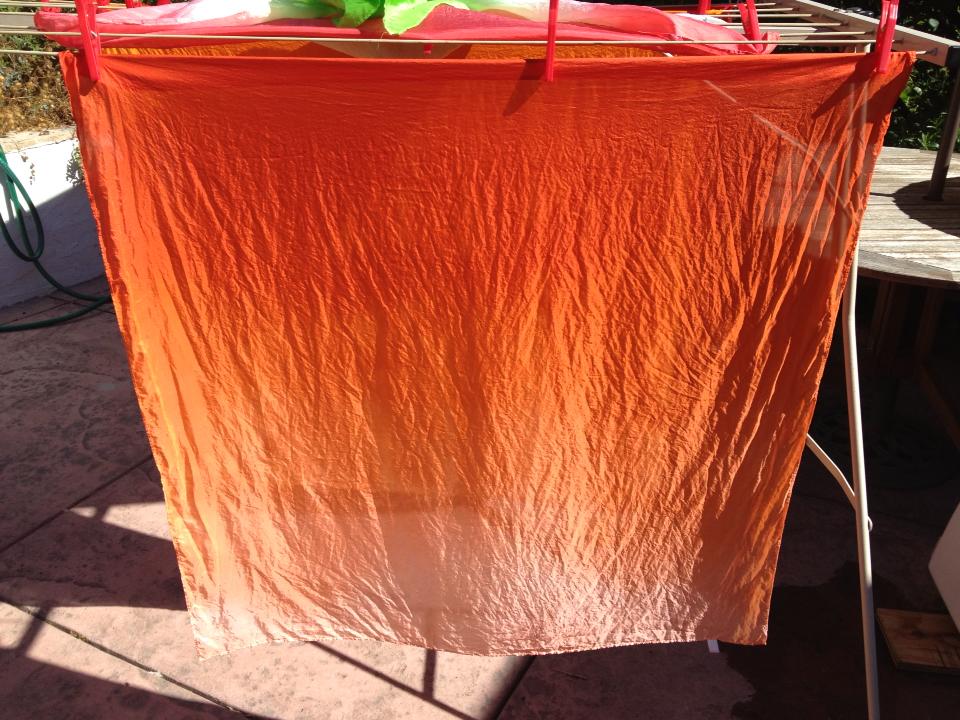
- The dye should be mostly gone by the time you reach the top of your scarf (remember, this is for a 35 x 35 scarf; you may wish to reduce or increase the intensity of the dye mix depending on the size of your scarf). Dip the entire scarf into the water, swirl around for a further 30 seconds, then withdraw. Rinse in cold water and hang to dry.
- For a more precise and more even gradation, you could suspend the silk scarf above the bucket using a hanger. And try to avoid the silk touching the side of the bucket; a few dark specks of dye made their way onto the scarf this way!
- For a 2 colour gradation, simply dip one end in one colour following the above instructions, but stopping mid-way up the scarf. Turn the scarf around and dip the other end into a second colour.

Learn from my mistakes:
The first time I tried this, I wanted to do a green gradation. I only had two packets of lemon-lime Kool-Aid left. I lowered the silk scarf into the dye every minute instead of every 30 seconds, and as a result all of the dye had been soaked up by the silk before I had a chance to finish. I was left with a distinct green line where the dye had run out. The 1 minute interval was also too long; as you can see, it is not as smooth a gradation dye job as the orange is.
When adding the pink, I was careful not to go too near the green; it would have produced an ugly brown otherwise!
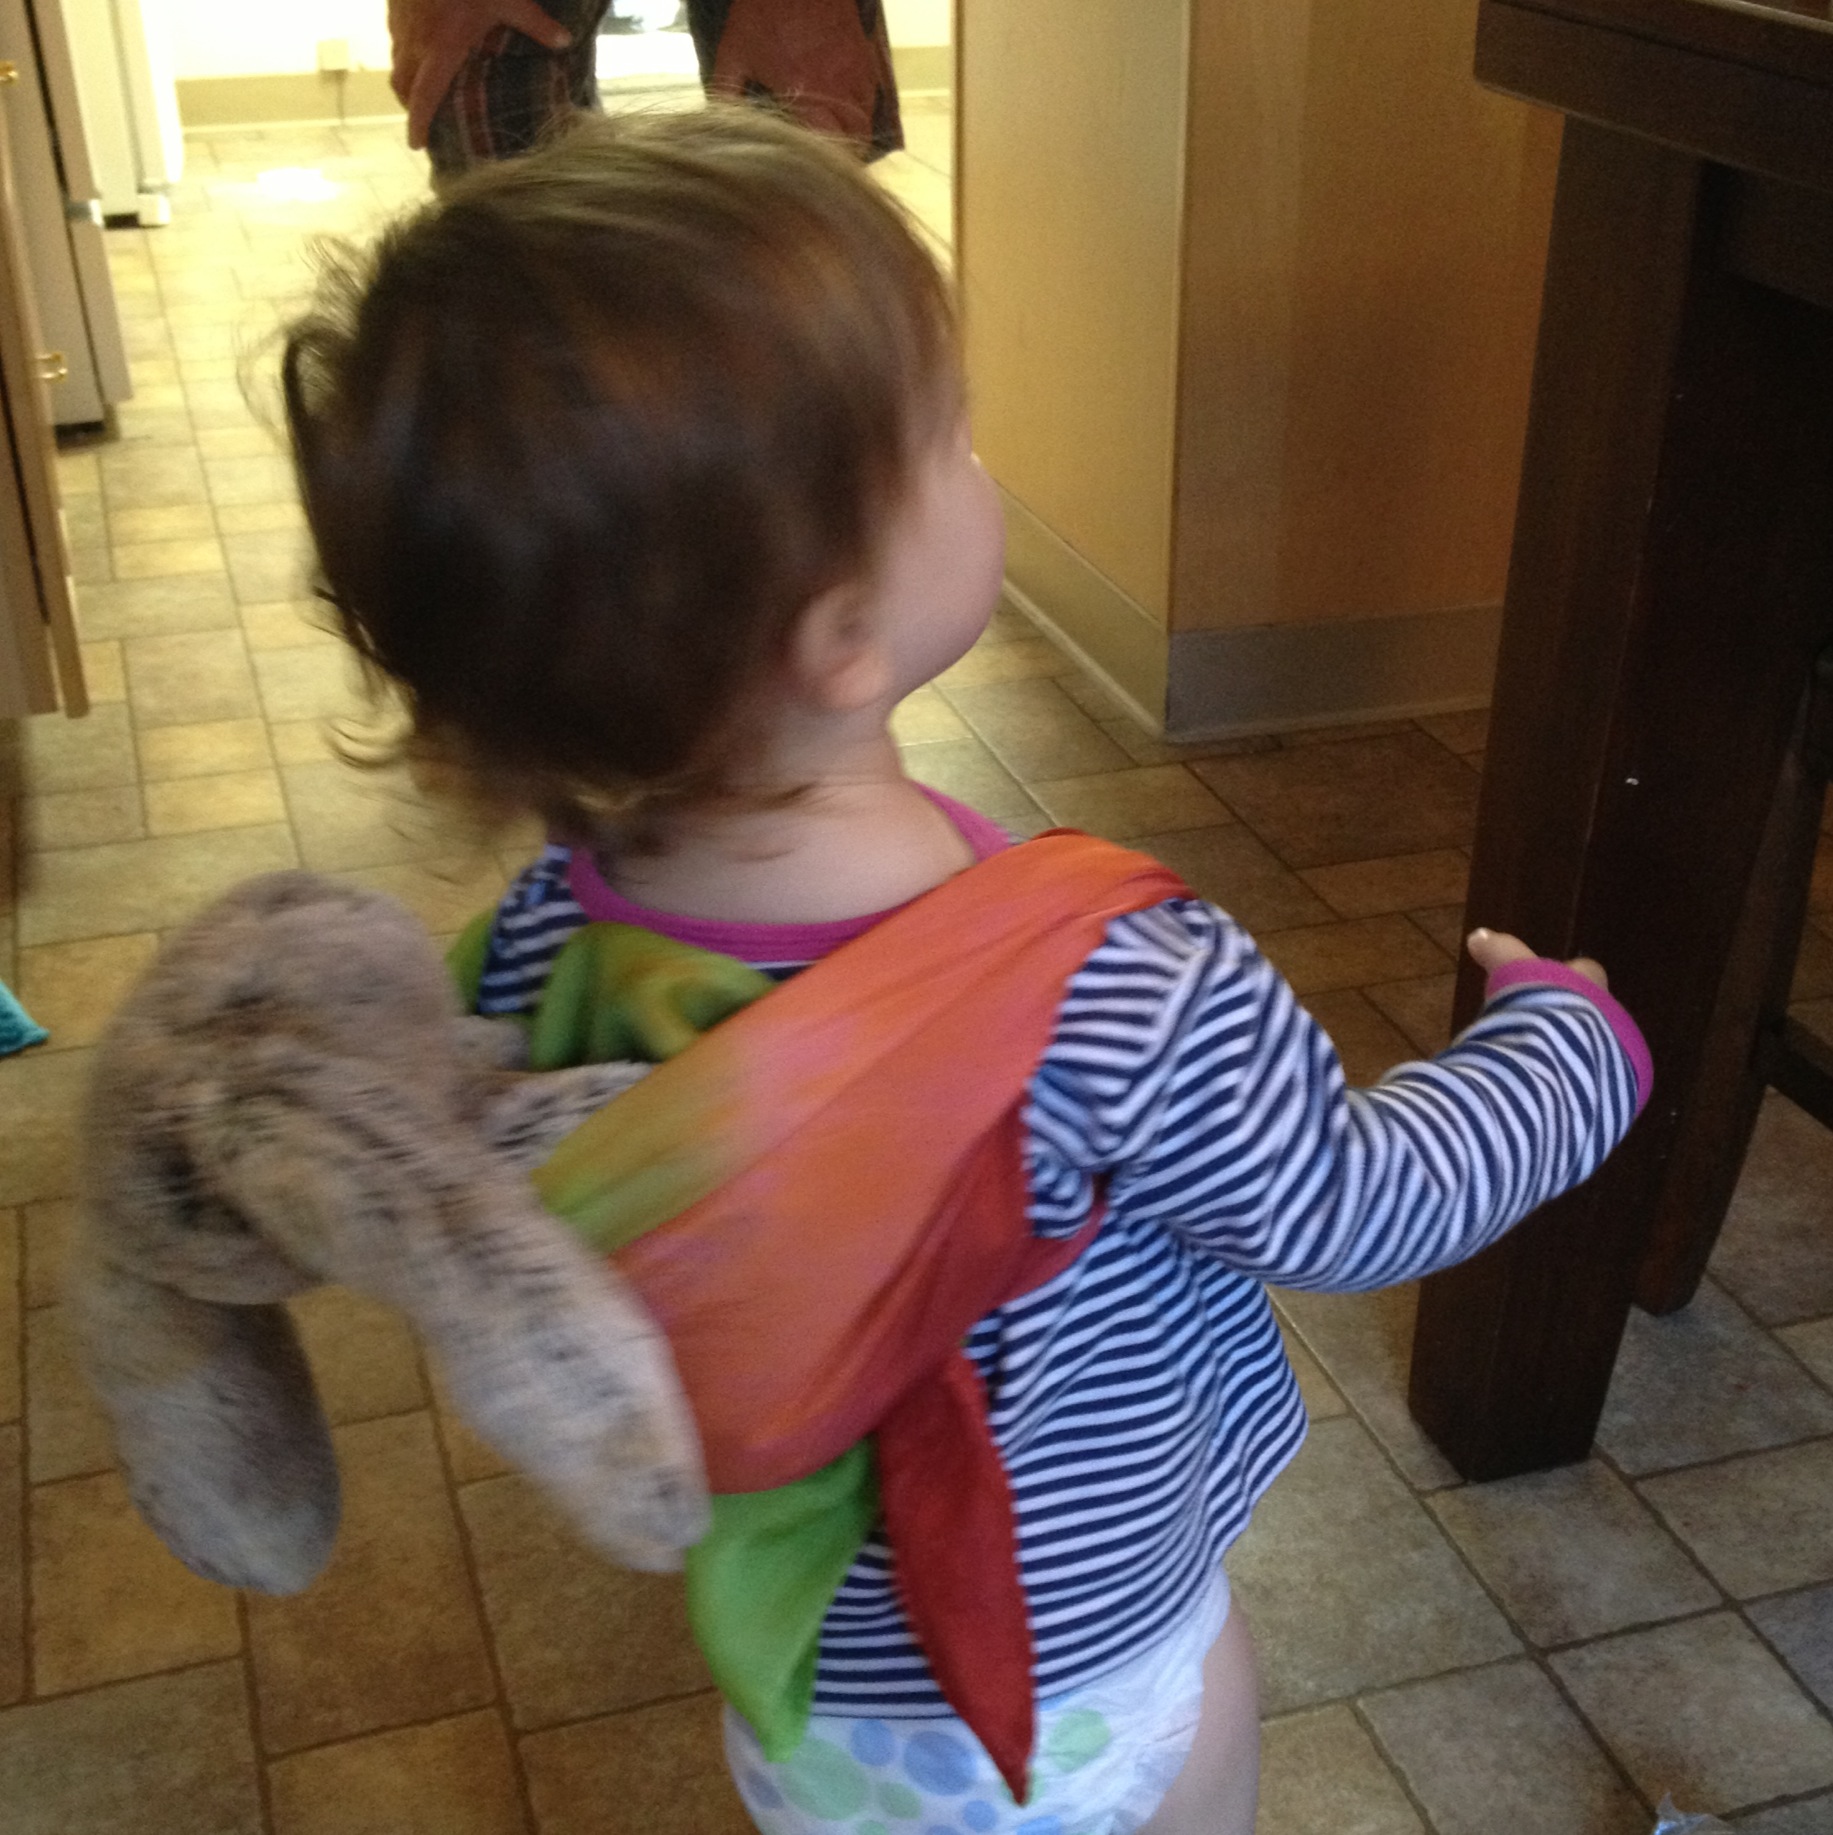
Remember: The silk scarves look better when dry and in use, so don’t worry *too* much about getting the perfect dye job! I dyed one scarf that looks rather ugly when laid flat – on two ends there’s a smooth(ish) grad effect, with a rather random unevenly-applied freehand orange stripe in the middle (not sure what I was thinking!). However, it looks quite pretty when in use.